Homebrew Log Jam: Part 1
I’m not exactly sure what a Homebrew Log Jam is but I needed something that sounded even more “backed up” than Homebrew Backlog since I’ve brewed like 7 or 8 beers since my last homebrew related post. I guess I’ll start where I left off.
RIP Strawberry Hefeweizen
I ended up dumping the Strawberry Hefeweizen. It wasn’t getting any better and based on some feedback I got from the very helpful Home Brew Talk forums it was most likely some other strain of wild yeast (or something) that created flavors that just aren’t gonna go away no matter how long I wait. Whatever it was also created a bunch of extra C02 because after a while every one I opened was a gusher (meaning foam gushes out of the bottle after opening as if I had shaken it up). I actually shot a video of me opening a bunch of the bottles in the sink, which turned out to be less exciting than I thought it would be. And now I can’t find it so you’ll just have to watch this video of someone else’s gushers Mine is basically the same except my sink isn’t so fucking stupid looking.
I definitely want to try a strawberry beer again but I’ll probably wait until next year since it’s more of a summer beer.
Petit Saison d’Ete
I’m not sure why I felt the need to do another Saison but I liked the sound of this one:
This session-strength Saison of summer pours tawny-gold and perfumes the air with tangy yeast and pungent hop aromas. The flavor is lightly earthy with spicy, flowery hops and a grain-and-bread malt character; caramel malt dukes it out with Saaz and Styrian Goldings through the middle before a palate-cleansingly dry finish.
OK, so most of these descriptions are cleverly written bullshit but I bought it. Here are the ingredients:

Up until this point I had been using a plastic bucket for primary fermentation, but decided to invest in a 6.5 gallon glass carboy. They’re more fun because you can see what’s going on inside without having to open them up, and they’re way more dangerous, being that they’re heavy and glass and lacking any sort of handle or anything to keep it from slipping out of your wet, soapy hands and smashing into a thousand pieces. Luckily that hasn’t happened yet but it’s more exciting knowing that it could happen.
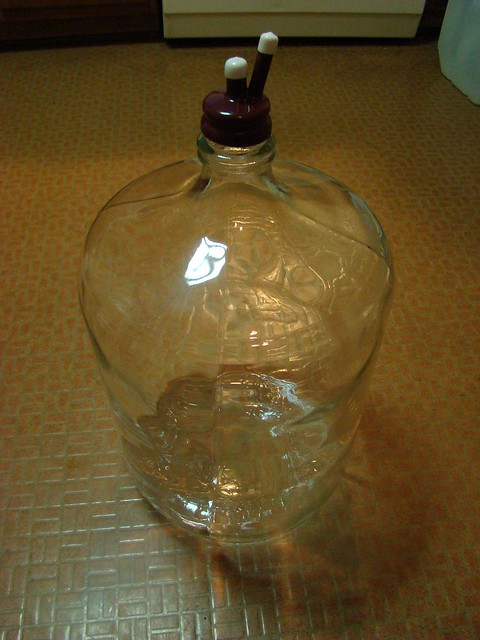
Now, here’s a photo that probably doesn’t make sense if you know anything about brewing beer:
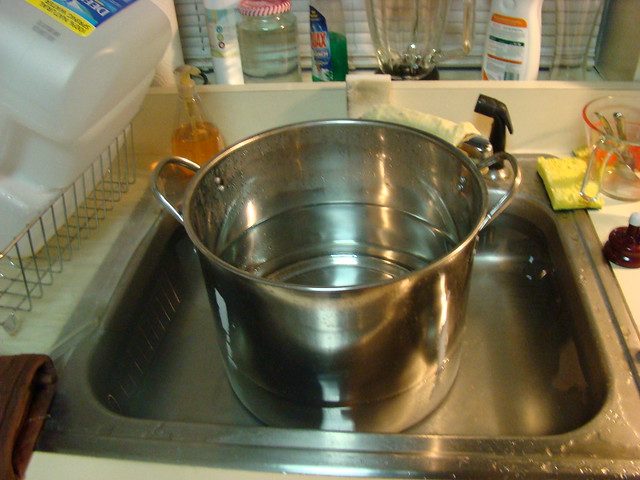
This was probably my first really dumb thing that I did. I did a couple other dumb things but this one was really dumb. Actually I think it felt dumber than it really was because I ended up having to run out and buy bottled water because, well, first of all, I brought the water to a boil when I was supposed to steep the specialty grains at 170F for like 20-30 minutes. After realizing how dumb I was, I turned off the heat and then realized it would be even dumber to stand there waiting for the water to get down to 170F. So I made a quick cold water bath in the sink to try to speed things up a bit. That’s what’s happening in the photo.
It was at this point I noticed some little white things floating in the kettle. It took a few minutes to figure out what was going on but I eventually deduced that they came from my old ass Brita pitcher that I used to filter the water. I never figured out what the floaty things were but I think it’s sort of irrelevant. Whatever they were I’m pretty sure I didn’t want them in my beer. So I drove to Wawa real quick and picked up some gallon jugs of spring water.
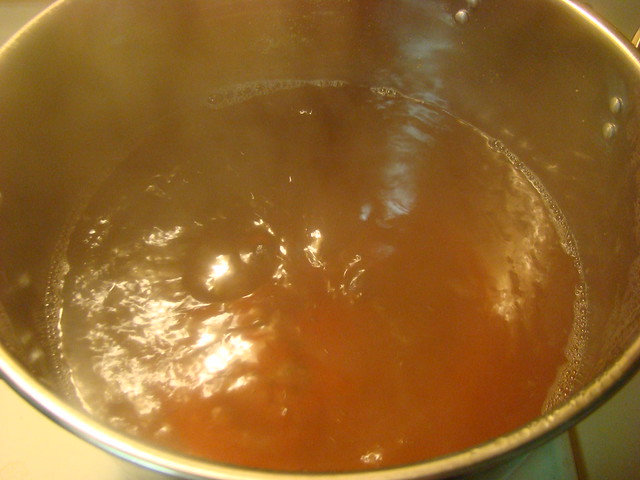
After properly steeping the grains at the right temperature I got the water up to a boil and added the extract. All pretty standard.
Here’s what it looked like before adding the extract:
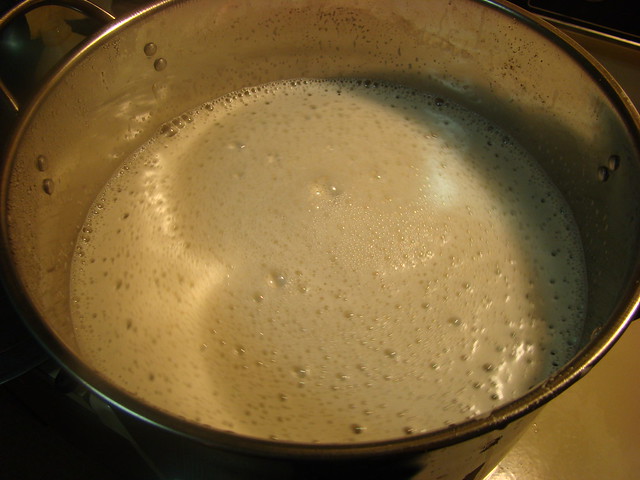
And after:
For some reason I wasn’t content with just following another recipe. I’m sure the beer would have turned out great and most likely even better that what I ended up with but I needed to express myself. I was 4 beers into my homebrewing career and hadn’t yet made any of my own ingredient choices. Actually that’s not true. I made the decision to add strawberries to a hefeweizen. Apparently that was just the beginning of my brewing genius because with this next one I decided to stray a bit from the recipe and add, not only black peppercorns, coriander and bitter orange peel, but an entire extra pound of raw cane sugar.
The spices and orange sort of make sense (and I had the coriander/orange left over from earlier brews) but I’m not sure what I was thinking with the raw cane sugar. I think I was hoping it would just make the beer stronger, which it probably did, but it probably also made it more dry (which in beer/wine talk is like the opposite of sweet (which seems weird because adding sugar equals more sweet right? But it’s all eaten by the yeast, which produces more alcohol; and the cane sugar is even more fermentable than the sugars in the wort so the yeast will eat all of it)) and had some effect on mouthfeel and/or color that I can’t even begin to understand. But whatever. This is supposed to be fun right? Let’s just throw a bunch of shit in there and see what happens.
Here are the spices and orange peel measured out and still looking like the best idea I’ve ever had:

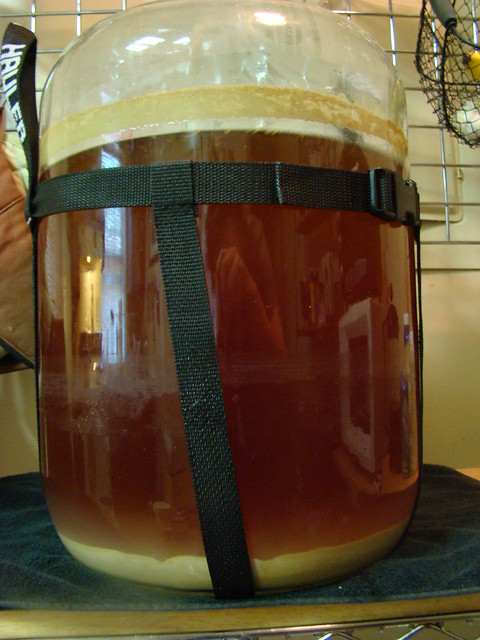
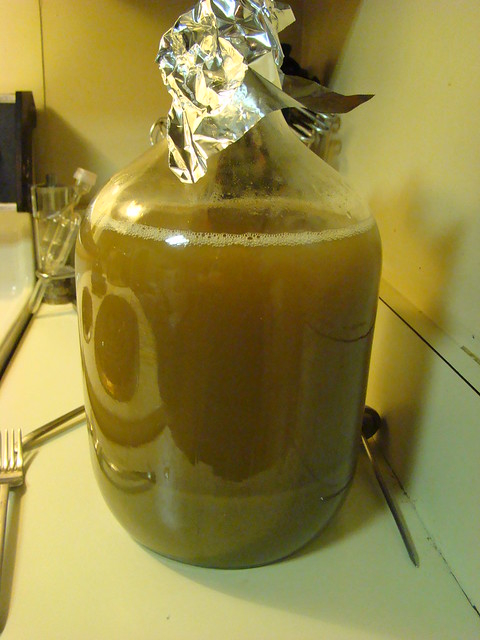
Those were all added in the final 10 minutes of the boil which is around where you normally want to add things like that. Because, that’s why. Everything else went pretty much according to plan and the wort was happily fermenting away the next day. And, now that it was in glass instead of plastic, I could see what was going on:

I decided to leave this one in the primary fermenter rather than racking to the smaller secondary, like I did with the strawberry beer. In that case it made sense because I was adding fruit and I don’t think it’s a good idea to add it to the primary with the beer sitting on all that yeast. Maybe it doesn’t matter. What does matter is that if I rack it to a secondary carboy (of which I now have several) that frees up the primary so I can do another batch, so it’s kind of a no-brainer now. But at the time it made sense to just leave it.
After 3 weeks it had fermented down to a sort of ridiculous 1.000. Why is that ridiculous? Well that’s basically the same as plain water which I’m assuming means that almost all of the sugar has fermented. Normally some will be left over, in some beers more than others, but still… something. From what I’ve read beers can even finish below 1.000 but it’s pretty much as low as you’re gonna get.
Here’s the yeast taking a nap at the bottom of the primary:
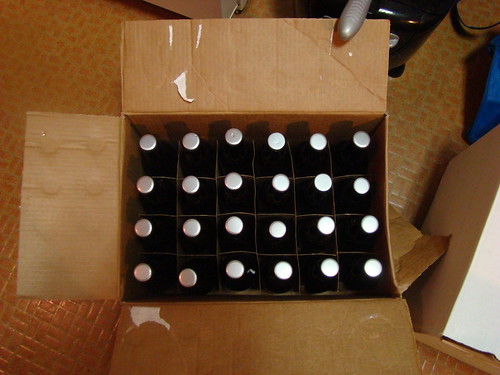
From there I racked to the bottling bucket, added priming sugar (for carbonation) and then filled the bottles. This is about half of a 5 gallon batch (1 case):
I made this batch right before I left the country for 2 weeks so it was ready to drink by the time I got back. But it was also the only thing I had going so it didn’t last long.

The Two Wits
When I got back I decided to try another wheat beer since they’re ready to drink relatively quickly. I had recently picked up the book Beer Craft, which has a bunch of recipes for doing 1 gallon all-grain batches. This is good for me because I don’t have the equipment to do 5 gallon all-grain batches yet, and if I mess something up I’ve wasted less ingredients and less beer.
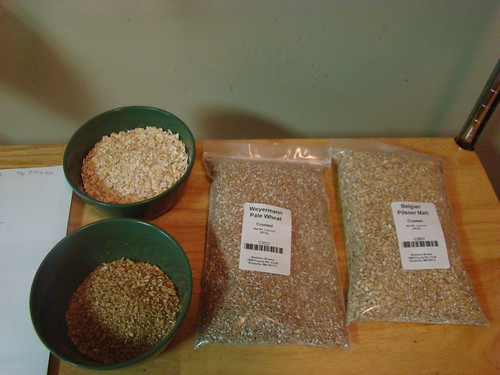
So I took the basic Wheat Beer recipe and made one of the suggested modifications by adding Flaked Wheat and Aromatic Malt to the mash, along with some orange zest in the boil, to produce a Witbier. This is a similar enough recipe to the first extract batch I did that I could get some idea of what difference going all-grain makes.
Here are the grains all measured out:
At the risk of oversimplifying this for the non-brewers, the main difference between extract and all-grain brewing is the “mash”. This is where you steep the grains in hot (but not boiling) water to convert the starch in them to fermentable sugars. Brewing with extract allows you to skip this step and go straight to the boil. When you buy extract you’re buying a concentrated version of the sugars that get extracted in the mash.
For this particular 1 gallon batch the grains add up to around 2.5 lbs. Having never done a bigger batch I’m not sure if that ratio scales as you go up but typically you’re gonna start with a larger amount of grains (in lbs) than your batch size (in gallons)
When you add that amount of grain to a kettle of hot water it brings the temperature down a bit so you first have to heat the water to what’s called the “strike temperature”. The recipe called for a 1 hour mash at 153F and listed a strike temp of 163F, a whole 10 degrees hotter. So that’s what I did. After adding and stirring the grains though it became clear that this calculation was probably more of a guideline than a rule. The temperature only came down to about 158F and, not having planned for this eventuality, I starting imagining how this beer might taste since I was into the higher range of mash temps that produce more non-fermentable sugars, resulting in a sweeter final product. Then I realized that I could probably just add a bit of cold water to get the mash down to 153F, so I did that and it basically worked. I was getting different readings depending on where I put the thermometer but I figured that has to be normal and that it just needs to be “pretty close”.

Oh yeah — I forgot to mention that I didn’t just add the grains directly to the water. You could do that, and that’s how most all-grain brewers do it, but to make things a little easier, you can also add them in a mesh bag. It’s basically the same idea as a tea bag except a lot bigger.
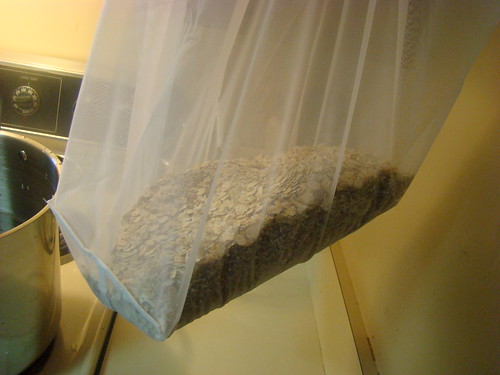
After the hour was up, I removed the grains from the water and set them on a strainer above the kettle to let some of liquid to drain back in. There’s actually still a lot of fermentable sugar left in the grains so I need to do a “sparge”. It sounds weird and gross but really it just means “rinsing off the grains”. Most breweries do this by sprinkling water on top and allowing it do drain through the bottom but that requires some special equipment that I don’t have.
So for this pseudo-sparge I heated up a second kettle of water to around 165F. For some reason that I don’t completely understand yet you need to sparge with water that’s hotter than what you used in the mash. Once the water is up to 165F I just drop the bag in and let it sit for about 15 minutes. I wasn’t sure how well this would work but I could see the sugars coming out almost immediately after putting the bag in so I guess it works.

After the 15 minutes are up, I did the same draining with the strainer thing (apparently just squeezing the liquid out is a bad idea, so I avoided doing that) and then add the liquid from the second kettle back into the first. I also forgot to mention that both kettles started with 1 gallon of water each so I would end up with 2 gallons. The idea is that a certain amount will be boiled off during the 60 minute boil although I think it ended up being less than what the recipe was predicting. This is another area where everyone’s process will be a little different.
The rest of the process is basically the same as an extract batch: bring the wort to a boil and then add hops and flavorings at specific times during the hour boil. That all went pretty much according to plan. It wasn’t until I got to the point where I’m supposed to transfer the wort into a 1 gallon glass jug that things started to go downhill. I should mention that for whatever reason I added the hop pellets directly to the boil instead of putting them in a muslin bag. So instead of just pouring the cooled wort into the jug I decided that wanted to try to filter out the hops and whatever other sludge might be in the kettle by putting a coffee filter in the funnel.
I know.
So yeah, that didn’t work. And in the process I managed to spill a good cup or two of wort all over the counter, which was actually good because it turns out I didn’t boil off a whole gallon during the 60 minute boil, so it wasn’t all gonna fit anyway. After a quick clean up I managed to get most of the rest of what was left into the jug, including a bunch of hops which made it all look sort of green instead of, well, witbier-colored. Whatever that is.
And here’s the jug with huge blow off hose attached.

With only a little headspace left in the jug, a regular air lock won’t cut it for something like this. I can’t seem to find a photo right now, but, by day 3 there was foam filling up half the blow off hose. So at least I know the yeast was good.
You might be wondering why I called this section “The Two Wits” (although, let’s be honest: you’re probably not). I followed this one up with another 1 gallon batch of the same exact recipe. I had a bunch of grains left over because I could only buy 1 lb bags (I only needed a few ounces of a couple of them). I know that’s really interesting which is why I mentioned it. You’re welcome.
More recently I was able to have one of each, to see how much difference it made that, for the second batch, I got the mash temp right, managed to get all the wort into the jug and ended up using a different strain of yeast. Here they are side by side, first batch on the left, second on the right:

They actually taste pretty much the same although I feel like the second one is a little bit better, probably because I wanted it to be better. I guess I should have done a blind taste test but I don’t really care about being accurate with something like this. It’s more fun to feel like I’m getting better at making beer.
Coming up in the highly anticipated Homebrew Log Jam: Part 2, I’ll continue the trend where I blog about every beer I make even if no one gives a shit.